The correct installation direction of excavator track shoes is crucial. Installing them incorrectly can lead to:
Reduced Efficiency: Severe track slippage, insufficient traction, and difficulty moving the machine.
Abnormal Wear: Accelerated wear on track shoes, sprocket, idler, carrier rollers, and track rollers, significantly shortening their lifespan.
Increased Derailment Risk: The track is more likely to come off the sprocket or idler wheel.
Ground Damage: Incorrect tread patterns can cause unnecessary damage to surfaces, especially paved ones.
Increased Noise and Vibration: Unstable operation.
Core Principle for Determining Correct Track Shoe Direction
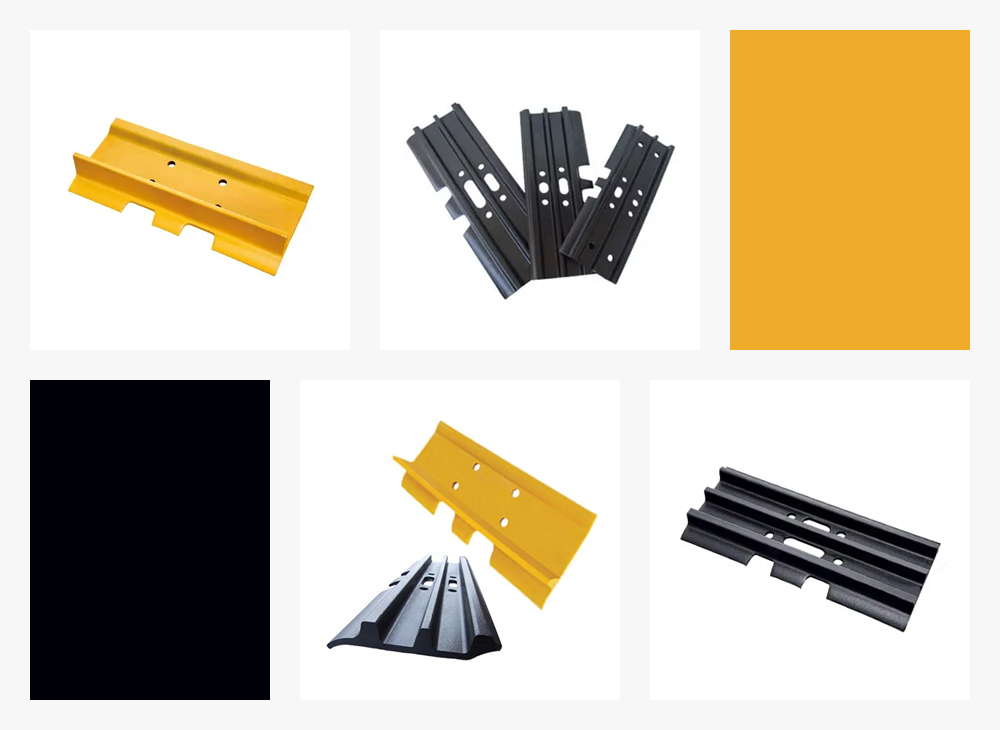
The key design element of the track shoe is the grouser (also called grouser bar, lug, or cleat). Its shape and function are critical for determining direction:
“Herringbone” or “V-Shaped” Grousers:
Correct Direction: When the track shoe is installed on the track chain, and the chain is correctly mounted on the undercarriage (sprocket at the rear, idler at the front), the point (tip, narrow end) of the grouser must point towards the sprocket direction (i.e., the rear of the machine).
Why? As the sprocket rotates, its teeth “grab” the track chain links and pull them downward and backward. With the grouser tip pointing backward, it acts like a “spade” or “hook” to effectively bite into the ground, providing forward traction, and preventing the track from slipping backward. This direction also allows soil to be discharged smoothly from the sides of the grouser.
Arrow-Shaped or Asymmetric Grousers:
Correct Direction: Similarly, the tip of the arrow must point towards the sprocket direction (rear of the machine). The principle is the same as for herringbone grousers.
Observing Sprocket-Grouser Interaction:
Imagine the sprocket teeth engaging the spaces between the track chain links and pushing them rearward. With the grouser tip pointing backward, it effectively penetrates the ground to provide the reaction force (traction) as the sprocket pushes the link. If installed backward, the wider or flatter side of the grouser contacts the ground, resulting in poor grip and acting like a “plow,” increasing resistance.
How to Determine (Summary & Steps)
Locate the Sprocket: The excavator’s sprocket is typically located at the rear (behind the operator’s cab). This is the powered wheel with prominent teeth.
Identify the Grouser Shape: Examine a single track shoe. Find the main raised bar(s), usually shaped like a “V”, “herringbone,” or “arrow.”
Determine the Tip Direction:
For “V” or “Herringbone” Grousers: Find the sharp point where the bars meet.
For Arrow Grousers: Find the sharpest vertex of the arrow.
Point Towards Sprocket: Position the track shoe in its normal working orientation (link holes aligned with chain pin holes) and ensure this tip points in the direction of the sprocket (i.e., the rear of the machine).
Overall Track Direction: When all track shoes are connected by links to form the endless track and correctly mounted on the undercarriage, the tips of the grousers on ALL track shoes should consistently point towards the sprocket (rear of the machine). Viewed from the side, the grousers will form a backward-facing “V” or arrow pattern.
Simple Mnemonic
“Tips Point Back” or “V Opens Forward”: The tip of the grouser (the point of the “V”) points towards the machine’s rear (sprocket direction). The open end of the “V” or herringbone pattern faces the machine’s front (idler direction).
Auxiliary Checks (Not Absolute, Use with Main Principle)
Bolt Head Direction (if visible): On some track shoes, the bolt heads securing the links are usually located on the inner side of the shoe (closer to the machine center), with nuts on the outside. This can be a secondary reference, but the grouser direction is most reliable.
Wear Patterns (for reference during replacement): On a removed old track shoe, examine the wear patterns on the grouser and around the link holes; these usually indicate the previous correct direction. This isn’t applicable for new shoes.
Important Notes
Always Consult the Manual: Designs may vary slightly between excavator brands and models. The most authoritative and accurate method is to consult your specific excavator model’s Operation & Maintenance Manual, which will have clear diagrams.
Post-Installation Check: After installing the track, operate the machine slowly for a short distance. Observe for smooth operation, abnormal noise, vibration, or slippage. Check that all rollers and wheels engage the track correctly.
Seek Professional Help: If you are unsure of the direction, or if replacing the track is a complex task, strongly consider having the work done by a qualified technician. Incorrect installation is costly.
Remember: Ensuring the “point” of your track shoe grousers consistently points backward towards the sprocket is the key step to stable, efficient, and long-lasting excavator operation. Taking a few extra minutes to confirm the direction before installation can save significant repair costs and downtime later.
For Track shoes inquiries, please contact us via the details below
Helly Fu
E-mail: [email protected]
Phone: +86 18750669913
Whatsapp: +86 18750669913
Post time: Nov-10-2025